Just some more pics
Bus to Motorhome
Our detailed journey on converting our bus to a motorhome.
Saturday, June 4, 2016
Friday, May 6, 2016
May 6, 2016
Sooo.. Major progress progress done while I had a few days off! All walls are up, kids bunks almost complete, electric half way done, kitchen also has a good start.. Attach are a few pics of the progress as of yesterday and please look past the construction mess (don't mind my cute photo bomber lol)
Thursday, February 25, 2016
Feb 24th 2016
Well.. Due to the cold weather (that I don't do well in at all) I've been delayed.. But warm weather poked it's head out yesterday and I took advantage.. I have finished all destruction and have finally started putting new back in.. I painted the floor and walls with rust-o-leum paint to help stop any more rusting.. I put down 4x8 sheets of insulation board then 4x8 sheet of OSB on top of that!! All screwed down with a few self tapping screws just to hold in place. Should make for a sturdy foundation.. Next is removal of Windows and side metal. Until next update.....
Saturday, November 7, 2015
November 7, 2015
Thursday, October 22, 2015
October 20, 2015
October 20, 2015
Ive had three days off and have worked in the bus two of them..
I have finished getting all the seats torn apart and out of the bus. I now have a pile of leather and foam in my driveway that my wife isn't to happy about but it will be ok..
I have now torn the back bulk head out of the bus to gain access to the rear student lights.. I am in the process of getting the rest of the wiring from them pulled out and disconnected.
The seat were removed with a sawzall to be able to gain better access to the brackets that were bolted in to the bus floor. I have now ground off all the bolt heads and have removed them. As a note to others coming in new to a bus conversion rent or buy a big grinder being 7'' or bigger as using a small 4'' grinder will take forever and it will eat through grinding wheels like crazy. Now that all those brackets are up I went through and ground off the small screws holding the middle aisle rubber trim down. (Man does that rubber smell burn the hairs in your nose ;).. Those screws have to be removed due to them going all the way through the plywood and into the metal floor. After that I went through and removed all the metal shrouds covering the rubber heater hose for the back heaters. While removing those there are metal covers around all 4 wheel wells that have to be removed. All these keep in mind have screws that are rusted so with my luck I had to grind them all off.
Now after all that has been removed I was able to start removing the plywood floor. I am only half way done with that as by the time I got to this point I was tuckered out and quit for the night. I also in between all this I removed all the rubber and plywood from the steps.
Next step will be removal of the rest of the plywood flooring and start removing the metal sides inside the bus to gain access to the inner wall for insulation. Before insulation all the metal surfaces will be painted with a rust style paint/primer to stop the rusting.
The attached pics are not up to date with this post, those are to come in my next post. As always I am all for any suggestions or tips anybody may have. Thanks
Saturday, October 17, 2015
We bought a bus
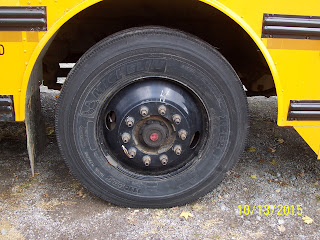
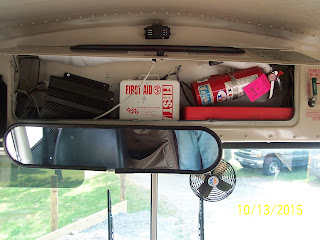
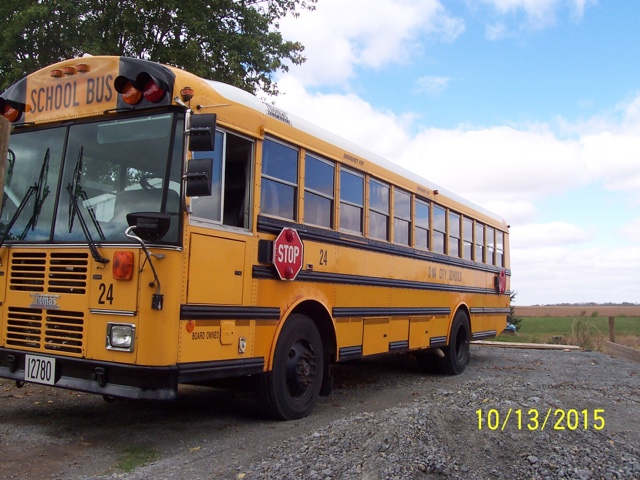
So we bought a bus.... Our bus is a 2002 Thomas FE with the Cummins ISB 24 Valve engine. 72 Passenger bus with good seats in it. Bus has minor rust and was an inservice bus last school year. 131000 miles isnt bad in my book for a bus. We paid 3000.00 for the bus which for a bus this new is not bad actually probably a little under what i should have paid. This bus runs damn good and cruises to its limiter of 75mph. I was a little shocked to see that I was able to keep up if not pass most of the traffic on the freeway on the way home. Also all the "bus" items were left on the bus with the purchase (first aide kit, body fluid kit, bus camera system, fire extinguisher, and etc.).
My wife and I love to camp and with our 3 kids should make it very rewarding. We purchased a 2500hd suburban to pull a 30 ft camper we bought 2 years ago but due to the camper being so heavy and the suburban having worse mileage than this bus we decided to take the camper and put all the "guts" inside the bus to make a motorhome that works perfect for our family. With the camper, bus, and all the insides we have about 6000.00 wrapped up in this project just to start. With many planned upgrades that number will for sure rise.
Its October 13, 2015-Bus purchased and now home. My kids decided it would be fun before i take the seats out to run and jump all over them.
October 14, 2015 - Started taking stuff out of the bus. Removed the stop signs and wiring. Everything removed from the bulk head above the driver and bulk head has been removed to open up the front plate where the student lights are. Have removed a lot of the bus wiring and still more to go. removed the video camera system as i will be using it for a backup camera as well as recording. Still have a lot to go as well as tackling these damn seats that arent going to make things easy.
October 15,2015- Seats have been removed. What a very difficult process. This bus gives me NO access to the bottom bolts so i have cut all the seats out with a sawsaw and plan to work on the seat mounts with a grinder.
Subscribe to:
Posts (Atom)


